Only one month later, but not my best turnaround time. Sorry.
Okay, so you've already seen these... a little card stock and crepe paper.
Here are some black paper lanterns that got tissue paper faces as well.
Here is the gorgeous cake, made by the lovely ladies at 'Tis So Sweet. Note the little sugar-coated marshmallow ice blocks. :)
We had a penguin waddle race,
musical ice blocks,
and a somewhat macabre bludgeoning of the piñata.
Poor little guy. You can see the tutorial here.
Here's the food table, complete with one of those really loud toy rollercoaster thingies, where the penguins hop up the stairs and then go down the slide, over and over, with obnoxious carnivalish music playing. DS loves it a little too much.
SO ANYWAY, I put fish sticks and hot dog squid in food safe metal pails to resemble penguin feeding time. There were veggies and fruits, too, with emphasis on the orange accent color.
I made a small army of these guys,
and then rolled a bunch of sushi. Some people call me crazy, but really, my three-year-old asks for sushi for his birthday? I'm not going to refuse such a healthy request! And besides, what else would penguins eat??? Well, sashimi, if you are being technical. Whatevs. No raw fish this time, though... California roll is DS's fave. Shrimp nigiri was DD's request. Cucumber and carrot rolls were included for the unadventurous. I love making sushi, and it's really not that hard!
I'm not sure why I don't have more pics of the desserts, but here you can see the birthday boy enjoying his cake with his dairy-allergic BFF eating blue jello cubes intermingled with Swedish Fish. There were also rice krispie squares, made with coconut oil instead of margarine, of course!
This party was laden with food allergies, which is why we were almost entirely gluten, egg, and dairy free except for the cake itself. There were a few other small things, but enough choices that everyone had plenty of penguin-related partying. Allergy-friendly goodie bags are tough, though. In the piñata, we had enough treats for everyone to get a lot of candy that they could eat, but the goodie bags were mostly handmade prizes. The one food item in there was Trader Joe's kettle corn... yummy for everyone, and beautiful packaging, too!
Here are the recycled crayons I made, inspired by this. The sticker on the baggie says "Arctic Art." I got the fish shaped ice cube mold from IKEA, and the crayons were free because we already had them. The mold is okay to use because the oven temp is pretty low. I know a lot of people who get crayon molds from the dollar bin at Target. I will say, though, that once you use a silicon mold for crayons, you probably can't use it for anything else after that.
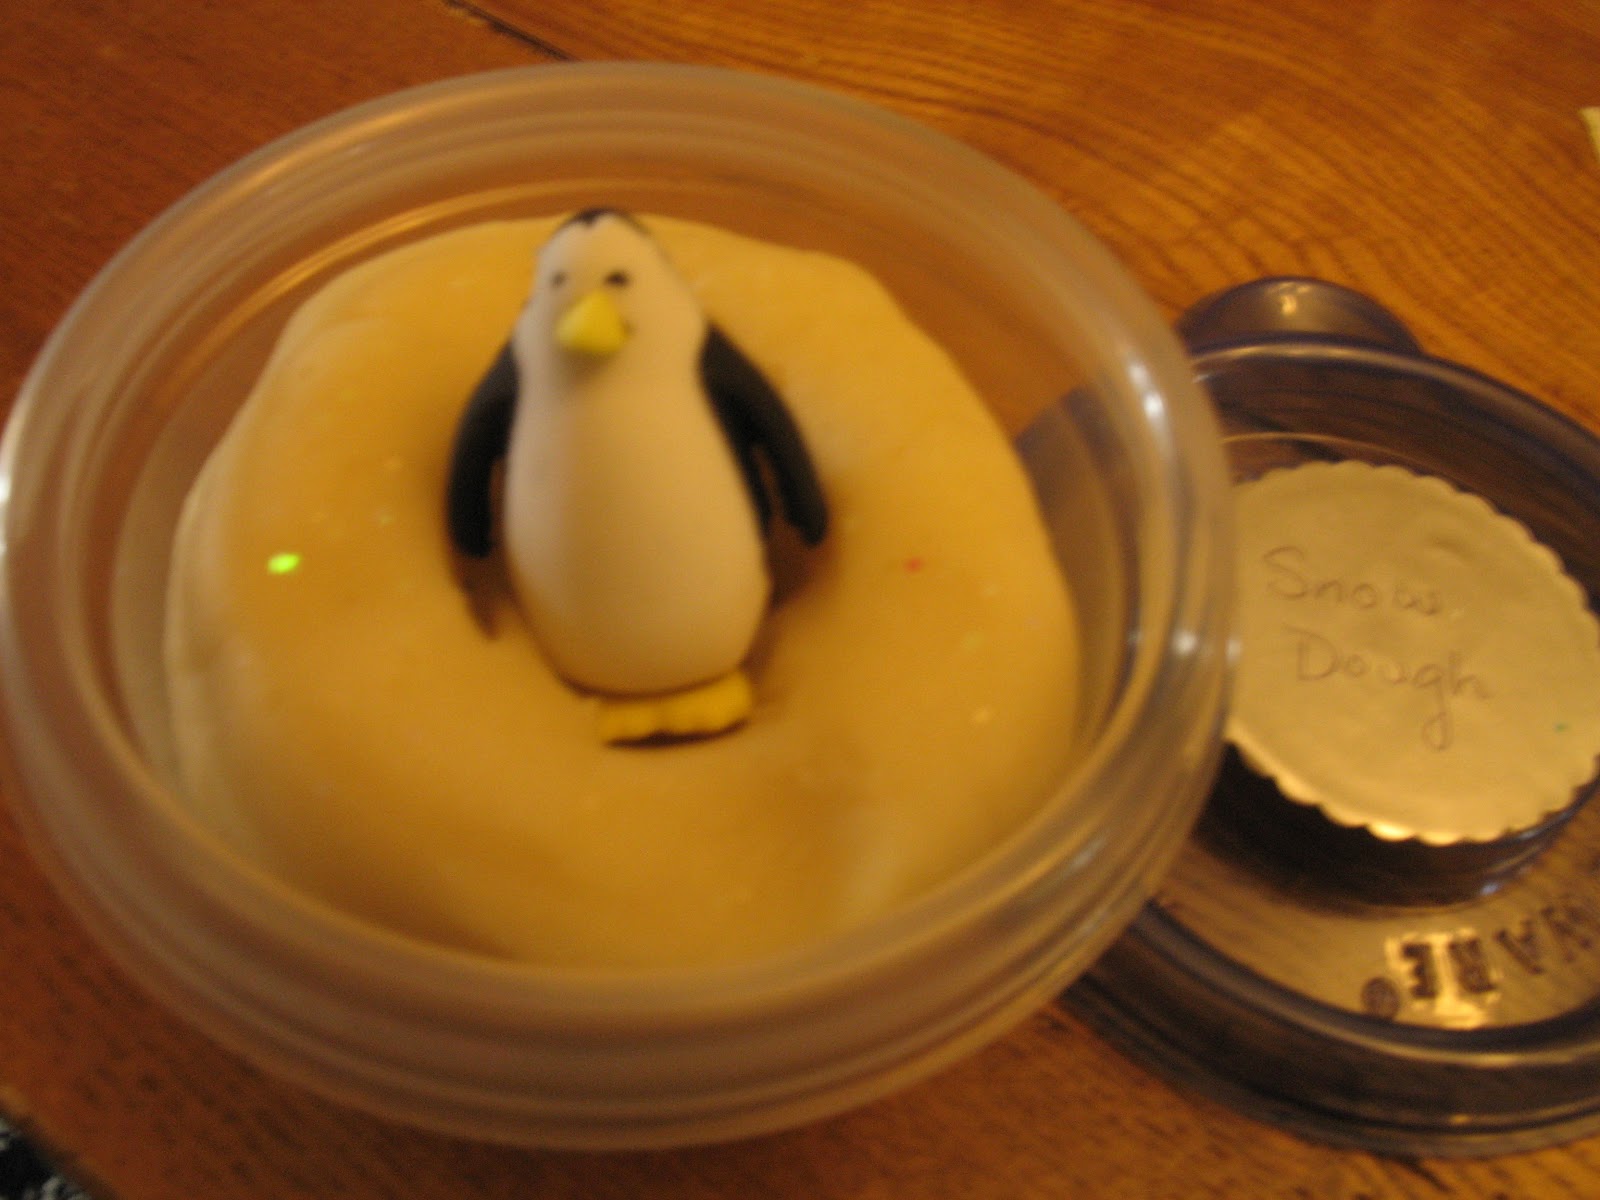
Then I made play dough and added glitter for "Snow Dough." (Please note: play dough is NOT gluten free. The kids I made it for are old enough to not eat it. Use caution for younger kids who might "accidentally" try some, or for those who have contact allergies!) I added a penguin eraser that I got at Party City. Also in the goodie bag were black and white paper blow-outs.
Did I forget anything? We are pretty penguin-ed out. Or maybe that's just me. I did obtain a penguin game at a yard sale two weeks ago, so keeping the penguin thing going is really pretty much my fault. O.o
And then the week after the penguin party, DS started preschool, and he got to be the popular kid who brings a treat on the first day. So this happened:
unscrewed "Joe's O's" cookies for faces and wings, molded orange Starburst candy for beaks, and candy eyes bought from the cake isle at the craft store. Maybe I am just a little crazy.
Showing posts with label Penguin Birthday Party. Show all posts
02 October 2012
30 August 2012
Party, Karamu, Fiesta, Forever,...
Now that I have that song stuck in your head, let's make a piñata. This was my inspiration, but of course, I had to invent something penguin-ish, so I improvised. I will say this, though: I will never buy a piñata again. I used some junk I had around the house, and saved myself about $15. It didn't take much time, as you can see remnants of breakfast are still in the background. All in all, it was an easy project, and I didn't worry about being too exact because a bunch of 3-year-olds are just going to flog it to death in a couple days.
First, cut a penguin shape out of a corrugated cardboard box. The beauty of this is that you can make it large or small. This party is only going to have 6 kids, so mine was on the small side. I freehanded the drawing, cut it out, and then traced my cut out to make the other side of the piñata.
Now, this penguin shape is also the universal symbol of Darth Vader and the Space Shuttle. In fact, I almost bought the Darth Vader cake pan at A.C. Moore (about $8 with a coupon), but then I realized that I really had too much on my plate for this weekend, and I ordered a cake instead of making my own. However, for those of you with more time on your hands, a small investment can fuel at least 3 boy birthday parties.
Next I cut the side of a cereal box and used it to make more strips of cereal box the same size (I also cut off the end tabs). You could make the strips wider to make your piñata thicker, but again, it was a small party, and I didn't feel like measuring.
I used masking tape to build up the sides of the piñata. You don't need to make it super sturdy, as you want the 3-year-olds to bust through it eventually. In fact, I even deliberately made some weak spots near the bottom. Shh, don't tell. If you are making this for a party of beer-guzzling males, make it stronger.
One place I did make it sturdy was at the top where I was going to put the hanger. I cut an extra piece of cereal box and taped it to where the opening flap was hinged (where you put the candy in - don't forget to leave this opening!) and poked holes for the hanger on each side of the fold.
I glued tissue paper around the whole thing. This doesn't need to be beautiful; it just needs to hide any cardboard that might otherwise peek through the crepe paper.
I glued two strips of crepe paper all the way around the outside.
Next, I glued the crepe paper concentrically on the front and back. Just keep going around and around, mushing it into shape as you go.
I added features made from construction paper, and I drew the eyes on.
A wire tie is a good hanger, or you can twist some coat hanger wire into a loop. Looky at all the candy inside!!!
I glued the flap shut (Keep in mind that this was two days before the party, so the glue had time to firm up.) and then masking taped it, adding a strip of crepe paper to cover the seam. Done!
First, cut a penguin shape out of a corrugated cardboard box. The beauty of this is that you can make it large or small. This party is only going to have 6 kids, so mine was on the small side. I freehanded the drawing, cut it out, and then traced my cut out to make the other side of the piñata.
Next I cut the side of a cereal box and used it to make more strips of cereal box the same size (I also cut off the end tabs). You could make the strips wider to make your piñata thicker, but again, it was a small party, and I didn't feel like measuring.
One place I did make it sturdy was at the top where I was going to put the hanger. I cut an extra piece of cereal box and taped it to where the opening flap was hinged (where you put the candy in - don't forget to leave this opening!) and poked holes for the hanger on each side of the fold.
I glued tissue paper around the whole thing. This doesn't need to be beautiful; it just needs to hide any cardboard that might otherwise peek through the crepe paper.
I glued two strips of crepe paper all the way around the outside.
Next, I glued the crepe paper concentrically on the front and back. Just keep going around and around, mushing it into shape as you go.
I added features made from construction paper, and I drew the eyes on.
A wire tie is a good hanger, or you can twist some coat hanger wire into a loop. Looky at all the candy inside!!!
I glued the flap shut (Keep in mind that this was two days before the party, so the glue had time to firm up.) and then masking taped it, adding a strip of crepe paper to cover the seam. Done!
Subscribe to:
Posts (Atom)